Fireplace facing walls can be challenging....
Let's see....
You can build the usual bookshelves,
You can build the usual bookshelves,
maybe anchor the walls with art, or place furniture against them.
I wanted something that was going to reflect light in our house
but not need to wear sunglasses.
We decided to anchor the walls with a dramatic installation of
antiqued patina mirror tiles.
This is a project that I've been waiting to do.
Behold the bare naked wall...

When removing the silver from the back of a mirror I used a strong metal stripper(AMPS) and so the instructions stated it would require 70 degree's of heat or higher.
Impatient me tried it in the house and I almost fumigated our family, so.....
I'll have to wait for Mother nature to bring it!!
Impatient me tried it in the house and I almost fumigated our family, so.....
I'll have to wait for Mother nature to bring it!!
So I waited ....and waited.....
Finally a dream forecast of 80 degree weather and most importantly SUN!!
I placed the tiles out on my deck back side up and rolled on my metal Stripper
The sun curdled the backing in minutes.
The sun curdled the backing in minutes.
After I thoroughly cleaned them, I mixed and spayed the back of the mirrors with the patina mixture to achieve my desired look.
Measure ... then measure again, use a level, then measure again...
finally mark your points.
We attached the mirrors with heavy duty double sided taped.
You only get one chance to place your tile,
there is no moving them after they're attached.

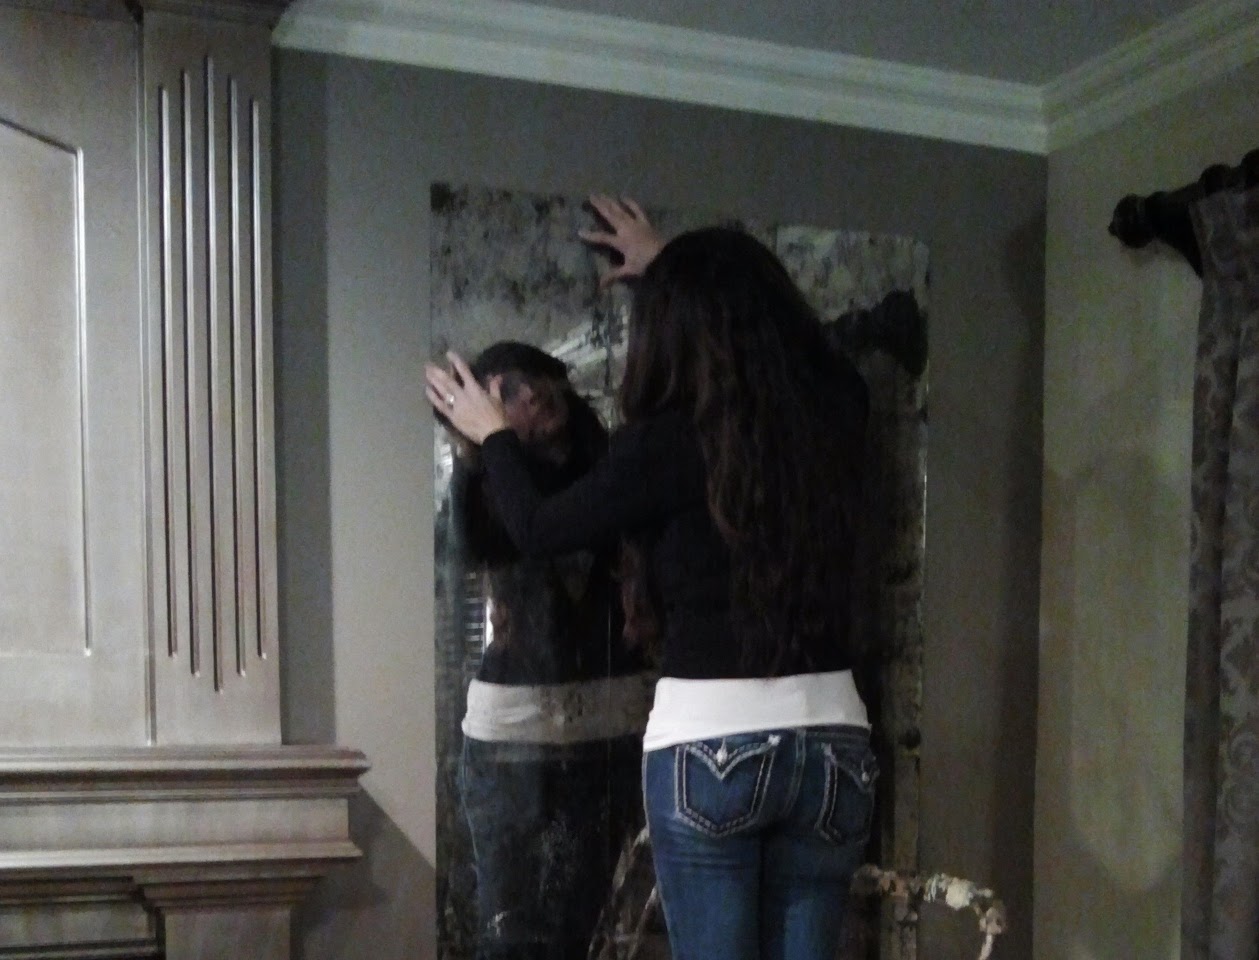
This was the effect... I LOVE IT!!!
You can go lighter or heavier with the patina product.
You can go lighter or heavier with the patina product.
But it needs a finishing touch... Oh Honey Sweetie Pie!!
My Hubby customized a stunning frame around the mirrors using 6 inch crown stained in an ebony finish with a pearled acid wash in the grooves.
Double stunning!!
It's exactly the right amount of light that is reflected back to our living room


BELOW: Before the mirrors were framed

BELOW: After the mirrors were framed

The frames around the mirrors give it a finished and much more substantial look.
Well, it's been fun, and so our next project awaits us....
I've got an IDEA!!!! Oh honey sweetie pie!!!!


LOVE them! What a great before and after! I seriously need to add some mirrors to my own home... :)
ReplyDeleteThis is the effect that I'd like to achieve. Any tips on how you got the scratch pattern? Also what type of glass tiles did you start out with? Just plain picture frame glass, or something specific? As many details as you can provide would be great. I've seen SOOO many other DIY antique mirrors that just look horrible, and yours is perfect, so I'd like to match YOUR technique.
ReplyDeleteThank you!
DeleteYes, you need a certain type of mirror.
I unfortunately learned the hard way when I purchased a box of mirrors, applied product and nothing happened.
You need mirror that has silver nitrate on the backing.. (Home depot does not carry it, Lowes does)
The method I used for the pattern was the spray bottle method.
The warm temperature and length of time you leave the product on determines how strong it will eat through the silver nitrate.
We sprayed the back of the mirrors in a dark metallic grey.
Hope this helps.
good luck!
Hi, I would really appreciate if you could tell me what patina mixture did you use exactly. Thanks in advance;)
ReplyDelete