Thursday, June 6, 2013

DIY Decorative Hood Range Vent

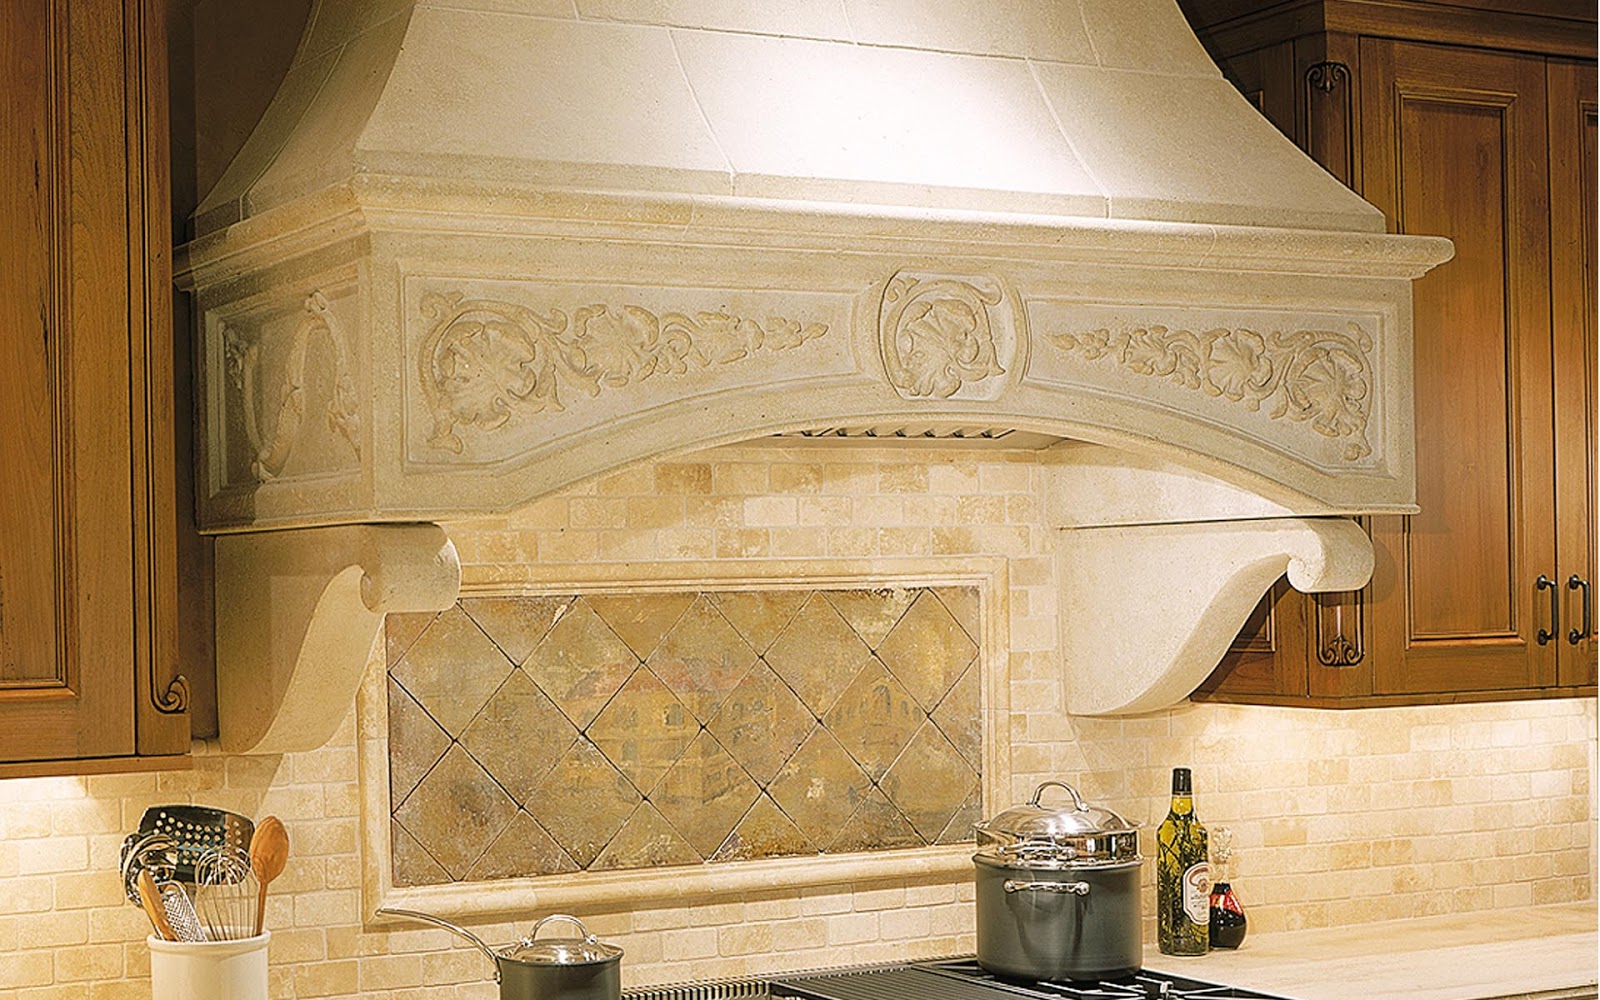
Look what we just built over the weekend!
Just kidding, but this beaut will serve as my inspiration for my kitchen.


We have a gas stove and need a stronger vent for my personal
Chef-Husband-Faux Finisher..(I can go on) to cook his fancy shmancy dishes.
 
Here is what I have to work with... small but it will work.
Buh-Bye microwave.
 
 
We ordered an exhaust vent with the appropriate dimensions
 and hair blowing C.F.M.'s 
We hired the best contractors, MCB-Repairs to install the new vent
 and air it to the outside.
And a very talented Carpenter with Carpenterama to build and frame in our vision.
 
The 2 existing doors were removed and the area was decoratively framed
 to cover and house the vent.


 After the contractors secured and built to suite,
we dressed it up with small scaled rope trim.

 
It's a simple design and It's taking shape.
 

We sanded and caulked then I combed the rats nest out of my hair.
 
 
It needs a little more action so we purchased a beautiful
small scaled wooden embellishment for the center.
We used liquid nails to adhere.
OK just hold it there for 30 more minutes babe..

 
Do you know what time it is ???
Prime time!
We used an adhesion primer and applied a thin even coat.

 
2 coats of the kitchen cabinet paint and......


Wait for it....
Wait for it....


  Bam!


We glazed the architectural features or the trim to match the rest of the cabinets
 
Glaze was applied heavily in all the grooves than wiped off.


Before                                                    After


I love to watch my Husband cook in this happy kitchen. 


 This look gives the kitchen an elegant feel.
 
hmmm...
Wouldn't a decorative tile look great behind the stove???
 
OH HONEY!!!!!!!


Friday, March 1, 2013

Diy Decorative Window Cornice

 Here is our dining room, very inviting huh...
 
Its been our painting-craft-throw all room till now.
We created a warm neutral backdrop with subtle triple color glazed walls
and large floor tiles with marble insets.
We invested in a large french country farm table and 2 upholstered chairs.
Its a nice start....
I wanted to make a formal decorative cornice on a budget of course.


I shopped for fabric and gathered my materials:
                                *Foam core
                                *T-square ruler
                                *Pencil
                                *Glue gun
                                *Utility knife
                                *1/2 inch thick Batting
               *Brown paper in a roll ( for sketching out my design)
                                *Long screws to affix cornice to the wall
                                *2 wooden rulers to attach fabric for the side panels


We measured the window, drew a few rough drafts
and came up with an ambitious design.
 
I folded the brown roll paper in half, drew my pattern and began to cut.

 
This paper tends to curl up so out comes the phone books,
See!!!! people still do use them!

 
Were ready to dry fit!
 
Hmmm.....It's little too ambitious...
Now is the time to make alterations to your design, so back to the drawing table..

 
Some minor alterations and we have a winner!
 
As you can see from the picture below we glued a strip of foam core
to the top so we have something to attach to the wall.

 
I cut the batting in the same shape of the cornice and hot glued. 


I aligned the fabric so it was straight and glued some more.
 I want to buy stock in hot glue!


I used a large ruler from home depot, cut it in half and hot glued my panels pleating them as I went along.
I wanted my flanking panels to be 12 inches wide.
It doesn't have to be pretty since its being hidden by the cornice.
 I didn't take pictures of the panel installation but we attached each one with 2 screws, drilling through the wooden rulers and
pleated fabricthen affixed to the existing window casing. 

 
NICE!!!
 
 
We dressed the chandelier by draping crystals throughout and
attaching them with black jewelry wire.
The picture does it no justice.
You'll just have to come over for dinner to see for yourself.
 

It really warms up the room. 
 
 
 This dining table centerpiece embodies the work horse that I am...
that.... and my son took this picture and wanted me to post it.
My future blogger!


We found this beautiful scroll embellishment at hobby Lobby
and attached it with picture hanging wire.

 
The tassels are a nice finishing touch.
 
 
 We love the finished look and are ready for guest.


Saturday, February 2, 2013

Upholstery fabric paint


I Love this chair!
Love the lines, scale, style, and price
 but..... it's the wrong color and the manufacturer doesn't offer it in different fabrics.
 
I've seen some upholstery paints and was a little leery
of the paint changing the texture of the fabric.
 
Thinking... Thinking... Should I ?... What if ?.....
Eh...Wrap-em up!


Close up of the chair arm.
It's a pretty gold color but its not in our color scheme.
I would like a charcoal grey.
 

I taped the arms and papered the wood to protect from over spray.


Hobby lobby had this fabric paint in the grey I wanted so...Here it goes.....


The fabric texture is slightly rougher but it doesn't bother me.


I Love the results!!
It was so easy you cannot mess it up.
The chairs took 2 coats a piece


Wednesday, January 16, 2013

Silk Padded Wall

 
Why would a builder stick a window in the corner on the Bed facing wall???
Symmetry !!!!


Here's the plan... Let's make it disappear
 
We covered the window with blackout fabric.
My supplies:
Measuring tape
Foam core
Batting
Fabric
2 inch strips of wood
Nail gun
and the all powerful glue gun 


We wanted a grid look so we purchased wooden slats and painted them
 with Ralph Lauren metallic silver paint


We found beautiful silk fabric.
 We measured, we cut, we hot glued the batting and Fabric on to the foam core. 


We cut strips of wood to size and nailed them to hold the panels.
They are snug as a bug!


We worked our way down the wall.
 
 What Window?


 Here is a photo taken during the day,
We still get plenty of light in our relaxing boudoir.


DIY Stain Staircase Hand Rails


It's been our mission since we bought this house to never see yellow oak again!
The problem: Light oak staircase... oh...and no carpet
Time for a makeover....
We began by taping the spindles and carpet at the bottom of the newels (post) to protect our new carpet.
Buhbye yellow oak...

 
 Before 
 

 Fab-After


This is one coat of gel stain.
If you desire a darker look this can be achieved by applying another coat.


Tifanny Blue room with Trellis Stencil

BEHOLD! The POWER of PAINT!!! Before     This boring room is getting a makeover               Before                    ...