Friday, November 23, 2012

Family Portrait Spoof

Ever wondered how it would be to live in the 17th or 18th century?
Well... I was up to no good and with a little help from photoshop
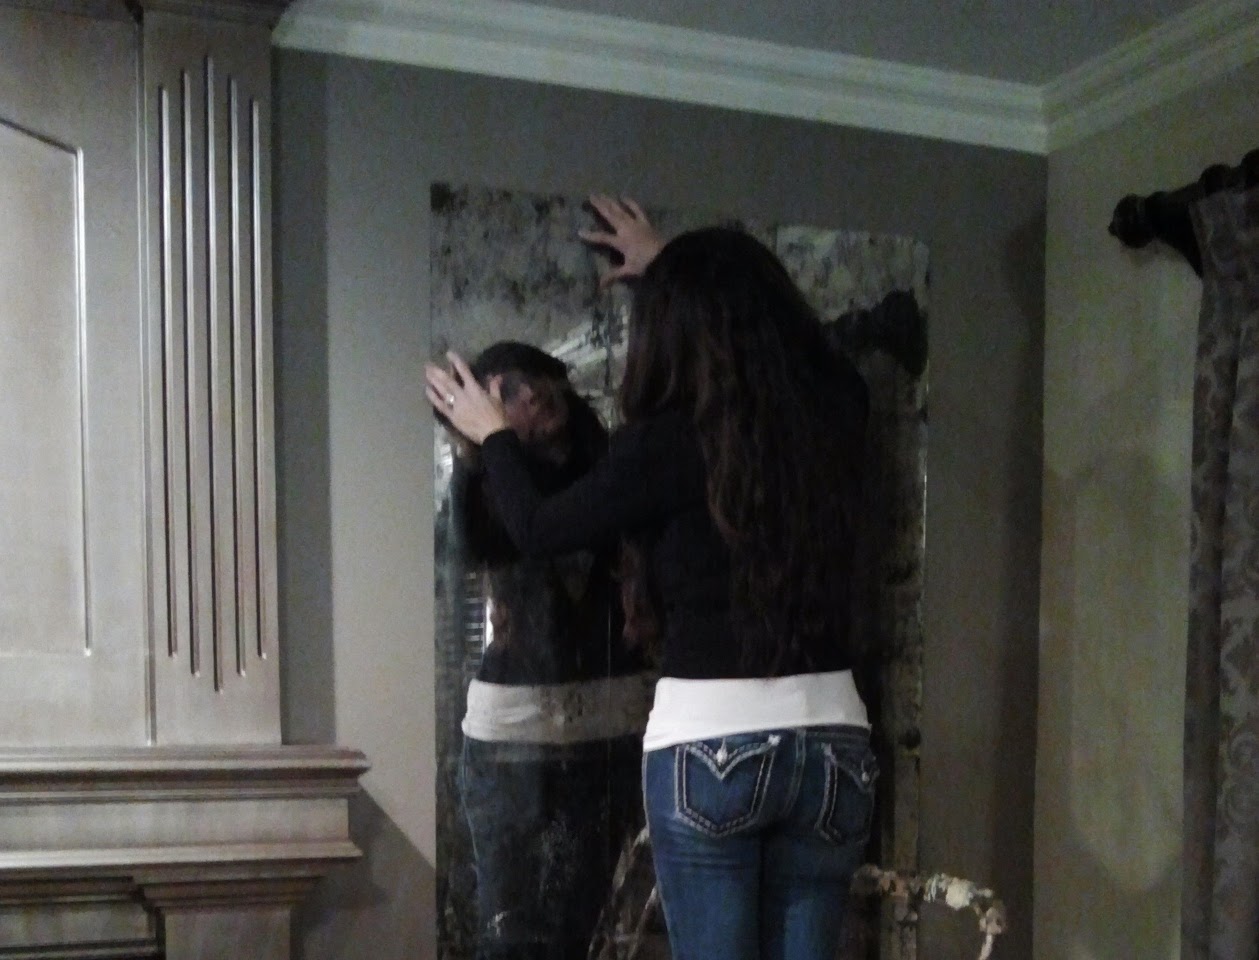
I created a formal wall display of our
family in my favorite century attire......

Let's meet the family shall we?


 My daughter, who hates this picture, she says she looks like a dog with a head cone.

 The beautiful "Ginger"duchess, My mother in-law

 My sister the equestrian

 Moi


 Yeah...How you DOIN?
My bro in-law
 Love the curls ...Love the curls

 
Same brother in law with a new look


My gorgeous eldest Son, Heir to the Throne


My other Brother in law... The Arteeeest!!!

 Is this a princess? Or is this a Princess?
"IM A PRINCESSSSS!!!!

 My Lady...

 My Father in law who I really love him in this outfit

 Pops..

My beautiful "French" Puertorican gorgeous mother
 
 
 My Handsome Duke Mitchell the 3rd

 My other lady....

Young duke

 
Young knight in training
 
Last but not least, my cutie little nephew petootie..
the future earl of Missouri
 
I picked up french provincial frames at Hobbly Lobby and local thrift stores


The family loved it!


Diy Mohawk YSL shoes

 I LOVE SHOES!!
 
I know I should be faux finishing or painting something for the blog but
I found these online and fell in love with these funky shoes, but was not in love with the price tag. OUCH!!!


I knew exactly how I was going to make them.

Here is my version..


These are all the materials your going to need.


Start with the right shape shoes.
These resemble the heel of the original YSL shoe.
They don't have to be exact but they do have to be comfortable.
I found these at Nordstom rack.

I purchased 7 inches of faux fur from the trim section of the fabric store.

I cut it in the direction of the length

Combed it

Spiked it with hairspray

Glued the back with clear tack glue

Placed it on the back of the heel.

Slapped them on my bird legs.


Love them!!!

 
I spent less than $4.00 for this project and they look FAB YOU LUS!!


Thursday, May 17, 2012

Trellis Stencil Pattern with Metallic Paint


Our Blurry Office..


We recently purchased a house and carefully chose the room
 that would be our new office.
Unfortunately, I didn't take a good before picture so
I used the poor quality listing picture, hence the blurriness
(Is that a real word...)


I've been seeing a lot of trellis patterns in interior design and I'm totally in love.
Lets do a featured trellis wall!!
I researched many stencils and chose cuttingedgestencils.com
We're impatient so out goes the blow dryer!
on cool a setting of coarse.


It's very important to use a level when preparing a starting point
so your pattern stays level and consistent throughout
oh... and and tape the edge of the ceilings


   Make sure to keep the pattern level or you'll have a wall from
 Ripley's Believe It or Not.


This is a before picture of the featured wall

I should mention we converted the closet into an open
space to place our office credenza.

Fits like a glove....


We used a metallic paint so taking a picture was challenging.
The pictures captured a halo.


I painted an abstract painting of lips in silver shades 


Wednesday, April 25, 2012

DIY Patina Antique Mirrors

Fireplace facing walls can be challenging....
 Let's see....
You can build the usual bookshelves,
 maybe anchor the walls with art, or place furniture against them.
I wanted something that was going to reflect light in our house
but not need to wear sunglasses.
We decided to anchor the walls with a dramatic installation of
antiqued patina mirror tiles.

This is a project that I've been waiting to do.

Behold the bare naked wall...


 When removing the silver from the back of a mirror I used a strong metal stripper(AMPS) and so the instructions stated it would require 70 degree's of heat or higher.
Impatient me tried it in the house and I almost fumigated our family, so.....
 I'll have to wait for Mother nature to bring it!!
So I waited ....and waited.....
Finally a dream forecast of 80 degree weather and most importantly SUN!!

I placed the tiles out on my deck back side up and rolled on my metal Stripper
The sun curdled the backing in minutes.
After I thoroughly cleaned them, I mixed and spayed the back of the mirrors with the patina mixture to achieve my desired look.


Measure ... then measure again, use a level, then measure again...
finally mark your points.
We attached the mirrors with heavy duty double sided taped.
You only get one chance to place your tile,
 there is no moving them after they're attached.


This was the effect... I LOVE IT!!!
You can go lighter or heavier with the patina product.
But it needs a finishing touch... Oh Honey Sweetie Pie!!

 My Hubby customized a stunning frame around the mirrors using 6 inch crown stained in an ebony finish with a pearled acid wash in the grooves.

Double stunning!! 

It's exactly the right amount of light that is reflected back to our living room


 BELOW: Before the mirrors were framed


BELOW: After the mirrors were framed


 The frames around the mirrors give it a finished and much more substantial look.

Well, it's been fun, and so our next project awaits us....

I've got an IDEA!!!! Oh honey sweetie pie!!!!


Tifanny Blue room with Trellis Stencil

BEHOLD! The POWER of PAINT!!! Before     This boring room is getting a makeover               Before                    ...